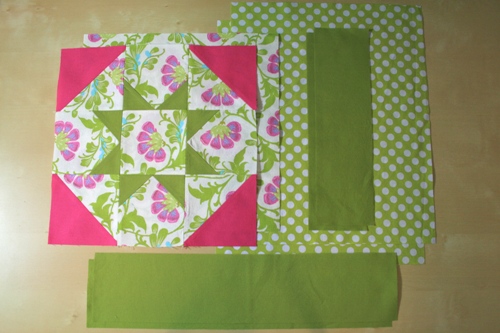
Materials
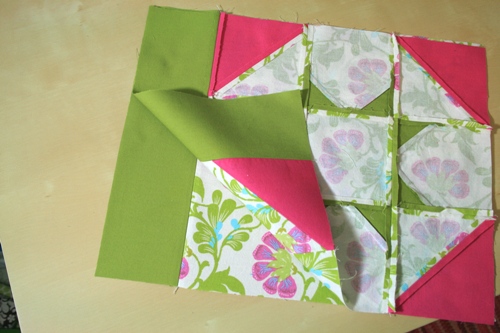
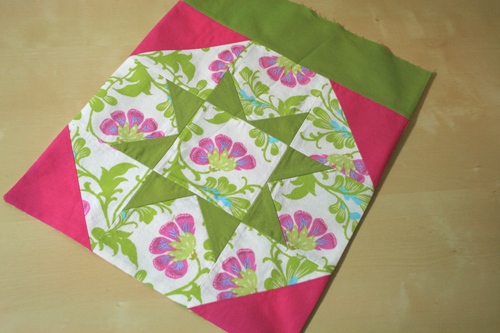
1 - 12.5" (unfinished) quilt block (we used the Dandy block)
1 - 12.5" x 12.5" piece of coordinating fabric for the back panel (you can use another quilt block if you want both sides to match)
2 - 12.5" x 3.5" for the accent
2 - 12.5" x 15.5" fabric for the lining
2 - 19" x 4" for the straps
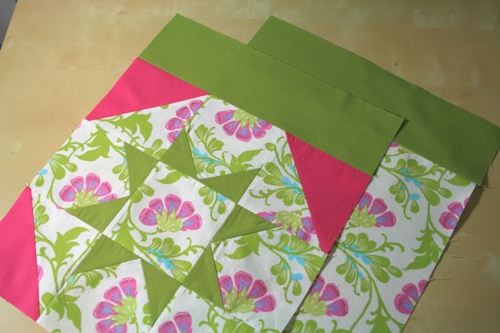
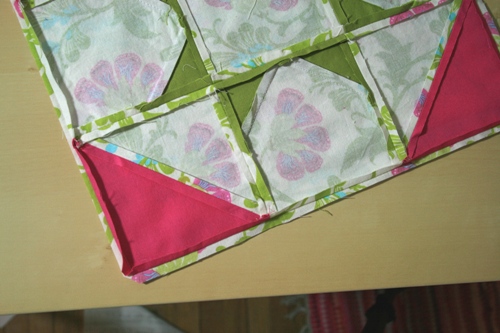
Step 1: Assemble the outer layer of the tote. Using a 1/4" seam, sew a 12.5"x3.5" strip to the unfinished quilt block and the plain back piece. If you're using a directional print, make sure this strip goes on the top:
Place your front and back together, matching up the seam and edges.
Sew around the two sides and the bottom using a 1/4" seam. Backstitch at the beginning and end for extra strength. Once you're finished, trim the bottom two corners to reduce bulk and, if you want, iron your seam open (to give the edge a crisper look).
Turn right-side out and press to get a nice crease.
Step 2: Assemble your lining. Place your lining pieces right sides together and sew around the two sides and the bottom using a 1/4" seam. When you get to the bottom seam, leave a 3"-4" gap. Backstitch at the beginning and end for extra strength. Once you're finished, trim the bottom two corners to reduce bulk.
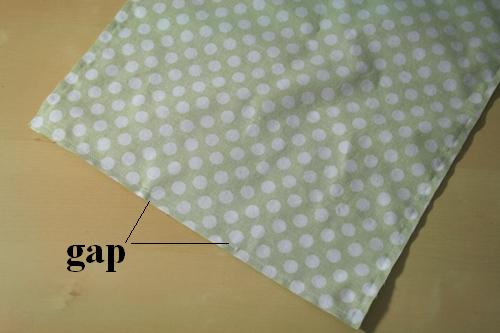
Don't turn the lining at this point.
Step 3: Now we'll make the handles. Take your 19" strip of fabric and press in half down the entire length.
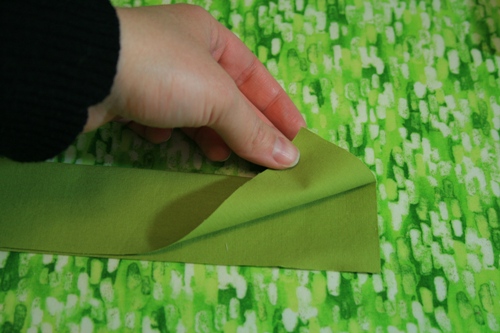
Fold in each side and press again
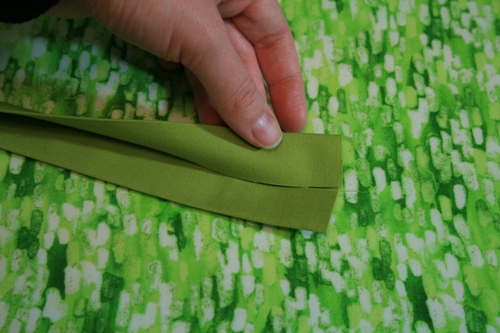
Fold again on the center line and press. Your strip will measure 19" x 1".
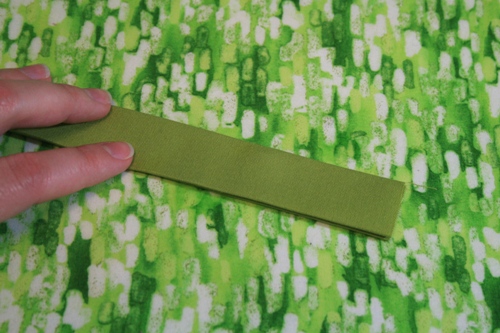
Topstitch the edges of your handles, staying as close to the edge as you can. I find that increasing the stitch length makes for a nicer topstitch.
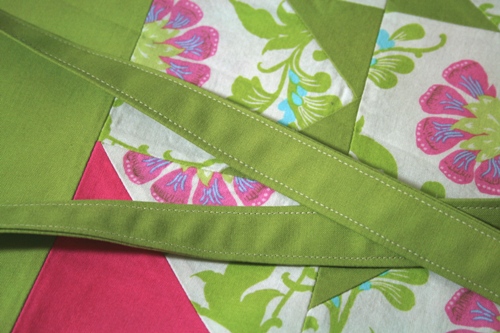
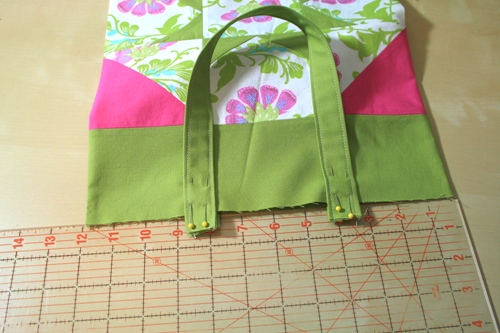
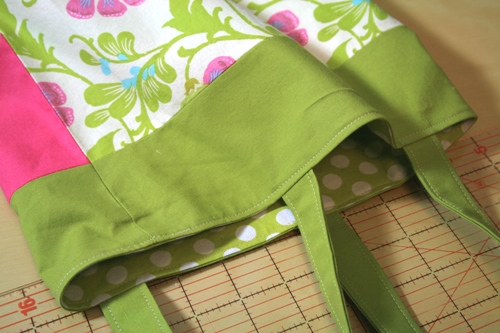
Step 4: Now we'll assemble the bag. Place your handle so the ends are 1/2" past the edge of the bag and the sides are 3.25" from each the side of the bag. Pin in place (I find that two pins help keep the strap from pivoting). Also, make sure your strap isn't twisted. Repeat on the other side.
Place the outside of the bag into the bag lining (right sides will be together).
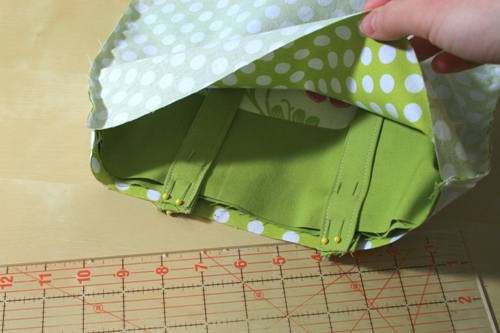
Move things around until the side seams line up and the top edge lines up. Pin in place.
Sew 1/4" from the edge. I like to backstitch over the handles for strength.

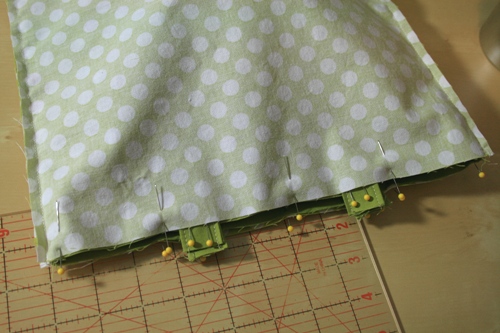
Pull your bag out through the hole in the bottom of the lining.
Sew the hole in the lining shut and tuck your lining into the bag.

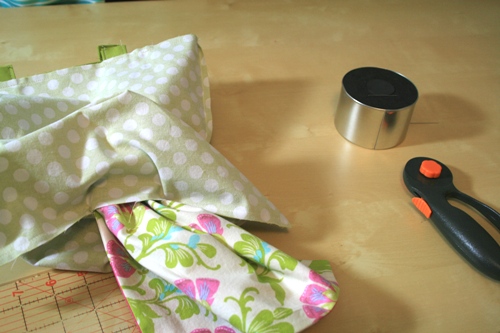
Press and topstitch the opening for strength and to give it a finished look.
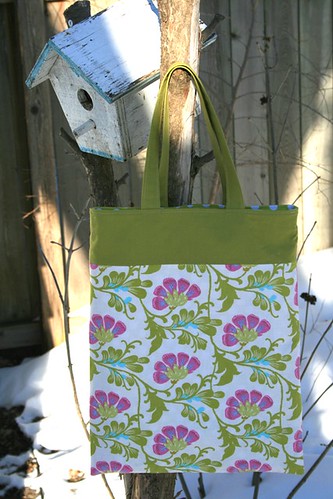
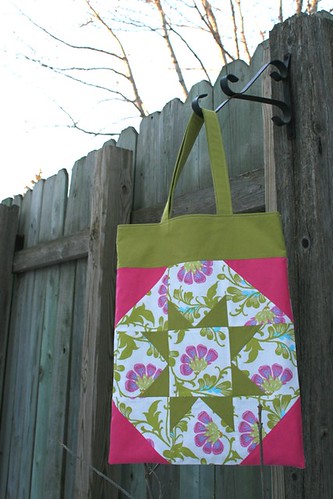
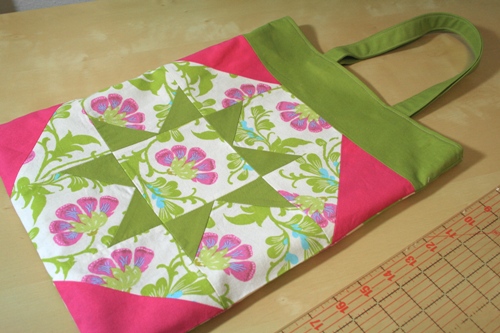
Admire your finished tote:
As always, feel free to ask questions and look for the giveaway post on Thursday!