Just warm it in the microwave to help relax those aching shoulder muscles.
For the removable cover, you'll need:
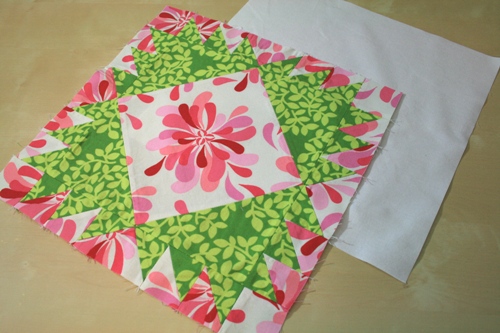
One 12.5"x12.5" (unfinished) quilt block (we used the Sunshine block)
One 12.5"x12.5" piece of cotton fabric (for lining)
For the rice bag, you'll need:
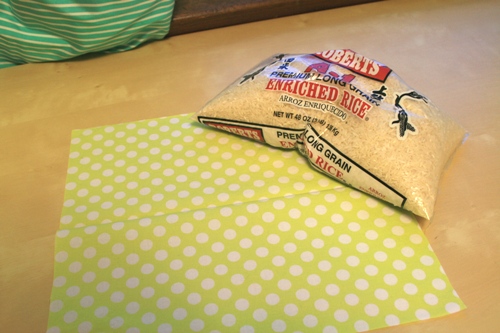
One 12.5"x12" piece of cotton fabric
2.25 - 3 cups of rice. (I'm not a rice expert so I recommend raiding your cupboard for whatever you have on hand. Probably not instant rice, though.)
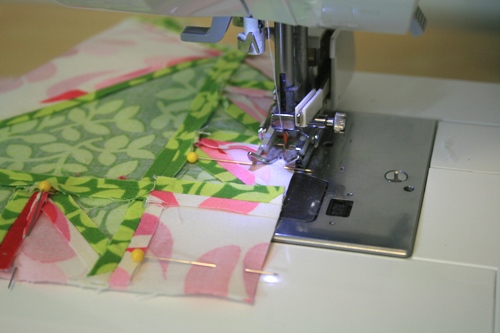
Step 1: First we'll make the removable cover. Place your block and your lining fabric right sides together.

Pin to keep everything in place.

Sew 1/4" from all sides, leaving a 3" to 4" opening on one side.
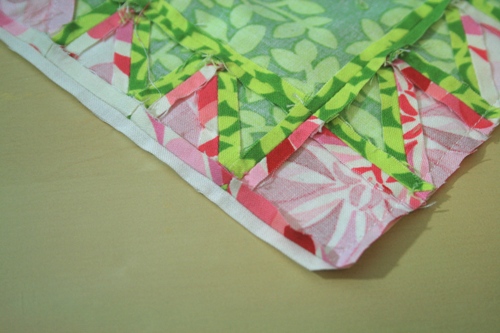
To get a nice, sharp edge, I like to press back the bulky edges of the block. Run the iron along to set the crease. Also, trim the corners to reduce bulk...make sure not to cut your stitches.
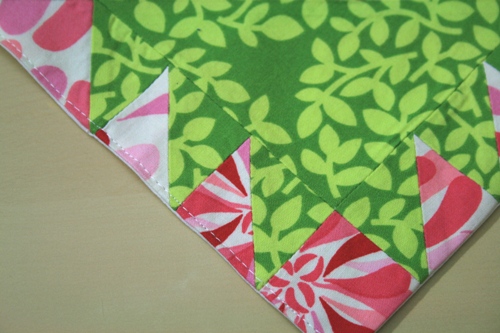
Turn everything right side out.

Use a knitting needle or similar to get the corners nice and pointy.

Iron your block flat.

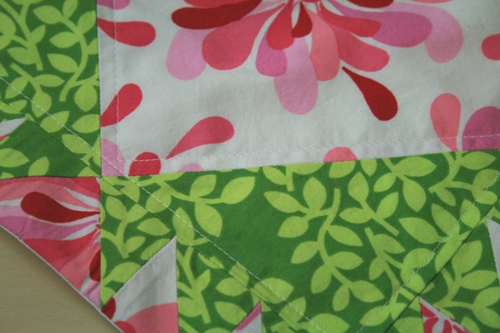
Pick one side to be the opening of your bag and sew 1/4" (or less) from the edge, backstitching at the beginning and end.
Quilt your block as desired.
Fold your block in half, making sure that the side you picked for your opening is along one of the shorter sides. Pin your two remaining edges in place.
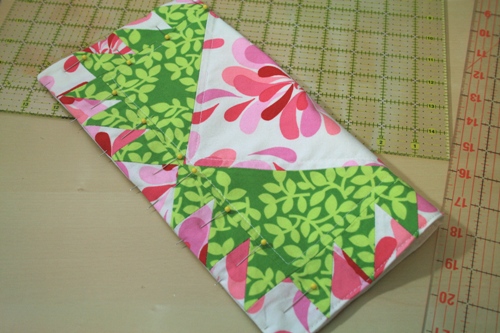
Sew along the edges using a 1/4" seam, backstitching at the beginning and end. You'll be sewing through a lot of layers (I had to pull it through my machine when I got to the bulky seams) so, sorry in advance...

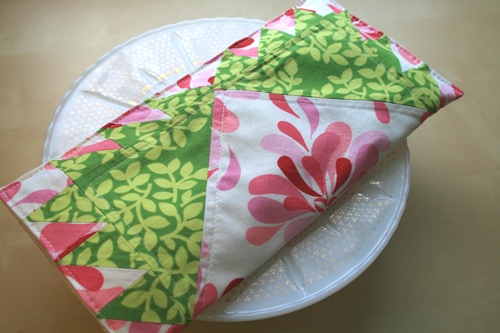
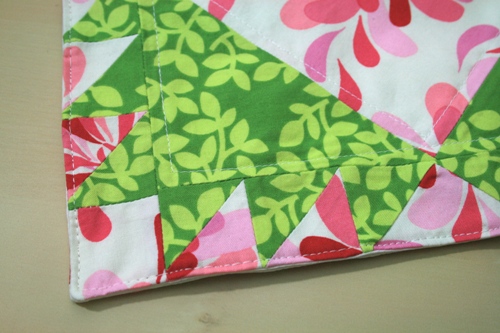
Give your finished bag a good press and set aside:
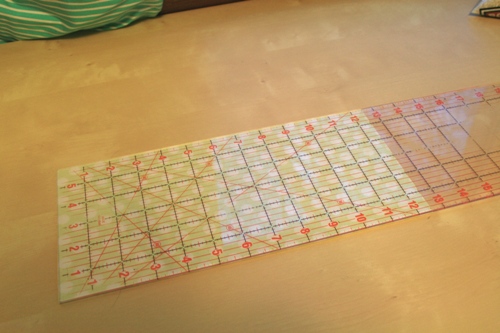
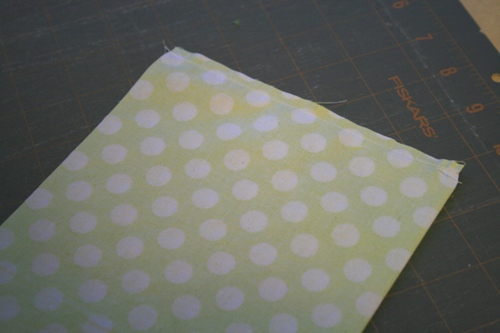
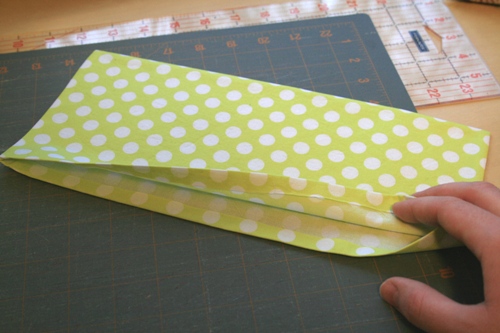
Step 2: Now we'll make the rice bag. Take your 12.5 x 12" piece of fabric and fold it in half, right sides together. It should now measure 12.5" x 6".
Sew a 1/4" seam up both of the short sides, backstitching at the beginning and end of the seam.
Turn your bag right side out and use a knitting needle to make the corners pointy.
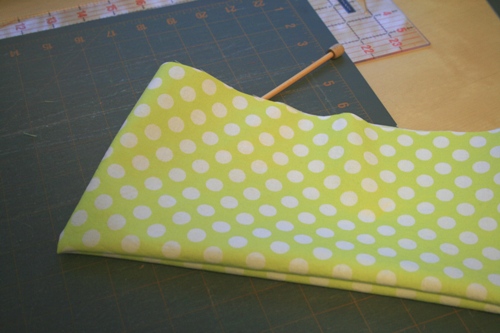
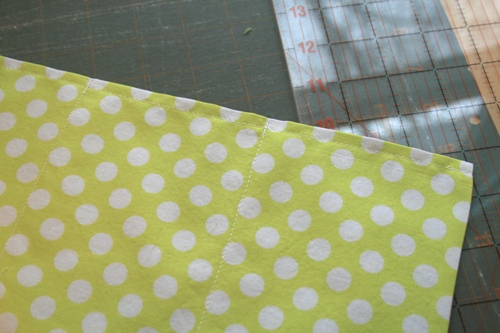
Iron your bag flat.
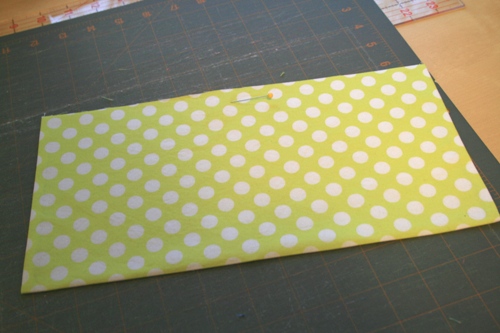
Turn the opening in 1/2" and press to set the crease.
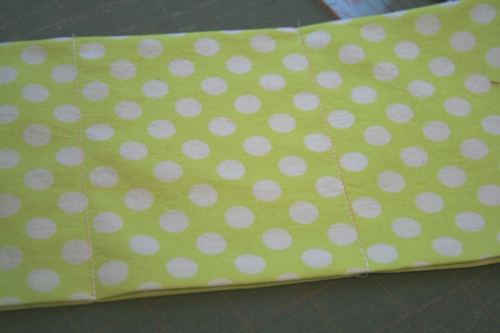
Measure 4" from both of the short sides and mark with a pencil. You will see these lines after sewing so make them as light as you can.
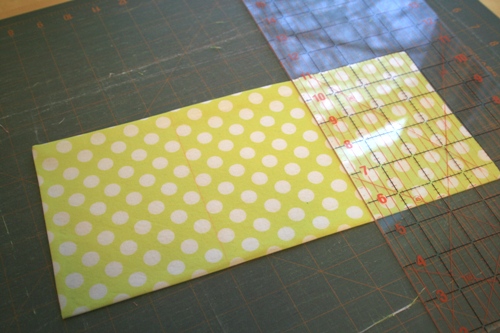
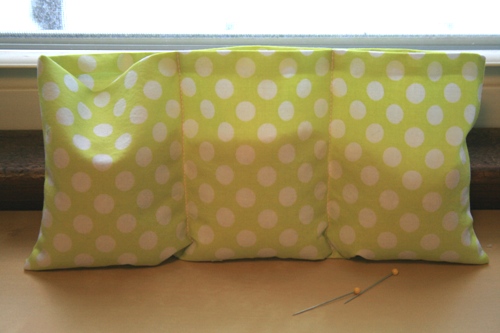
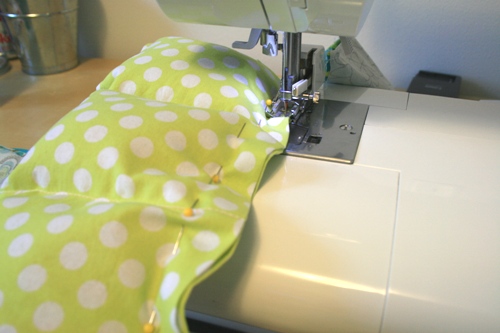
Sew along the pencil lines, backstitching at the beginning and end of the seam.
Sew along the bottom edge of the bag, 1/4" away from the edge, backstitching at the beginning and end of the seam.
Pour 3/4 to 1 cup of rice into each pocket. I use a funnel or else the rice gets all over.

Pin the pockets closed, making sure to pin close to the rice. You'll want to give yourself as much room as possible along the edge.
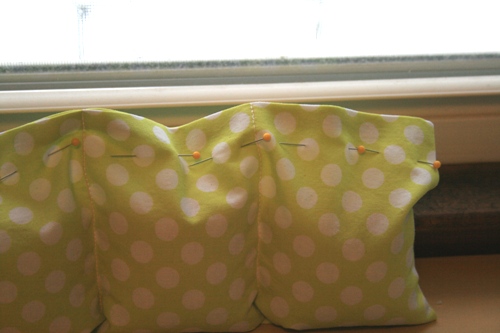
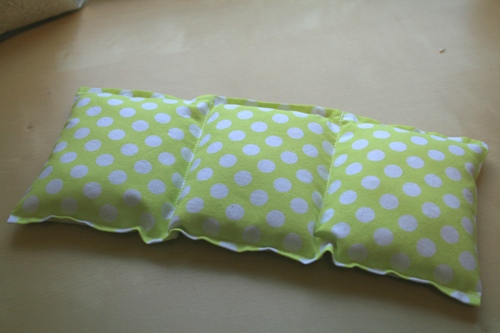
Sew 1/4" from the edge, backstitching at the beginning and the end of the seam.
Remove pins and shake the rice into place.
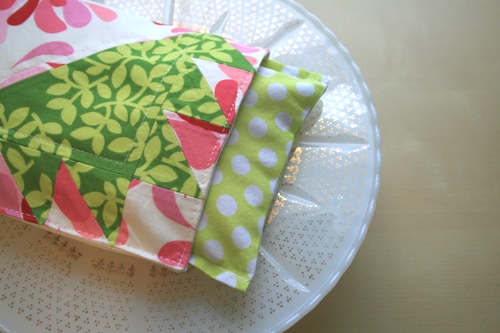
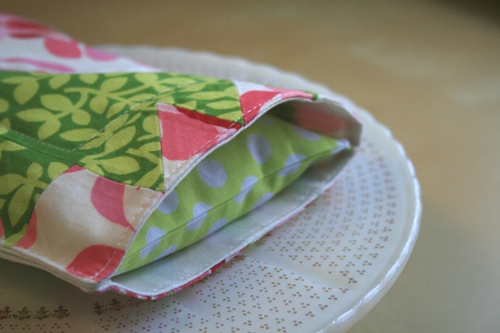
Tuck the rice pack into the bag and you're done!
To heat, place only the rice pack in the microwave for 2-3 minutes. I like to shake the rice and flip the pack over every 30 seconds until it's nice and toasty. The rice WILL burn if overheated so be careful. Not only is it bad in general but it'll stink up your house worse than burned microwave popcorn.

I hope you (and your aching muscles) enjoy this tutorial and please ask questions if you have them. Look for the giveaway on Thursday!