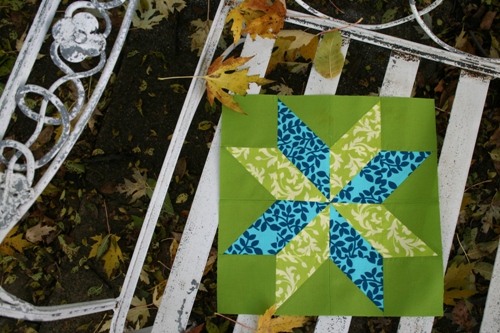
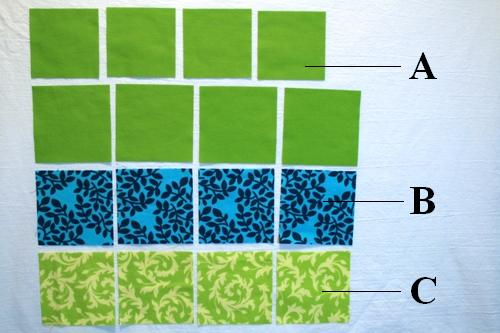
Step 1: Cut fabric as follows:
Fabric A: cut 4 - 3.5" x 3.5", cut 4 – 4" x 4"
Fabric B: cut 4 - 4" x 4"
Fabric C: cut 4 - 4" x 4"
I prefer to use non-directional prints for this block since we'll be using a lot of half-square triangles. If you want your prints to all go in the same direction, there's a certain way you need to sew your pieces together. Half the time I screw it up anyway so now I just use non-directional prints and save myself the headache.
Step 2: First we need to prepare our squares for sewing.
Start by drawing a diagonal line of the back of six of your 4" squares and match them up, right sides together:
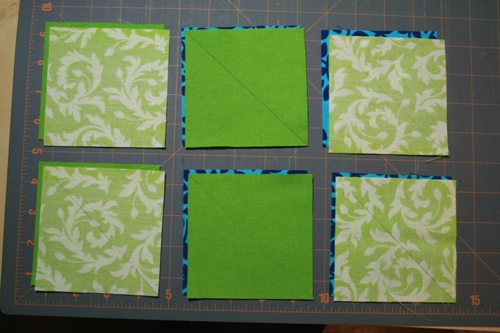
2 A's with 2 B's
2 A's with 2 C's
2 B's with 2 C's
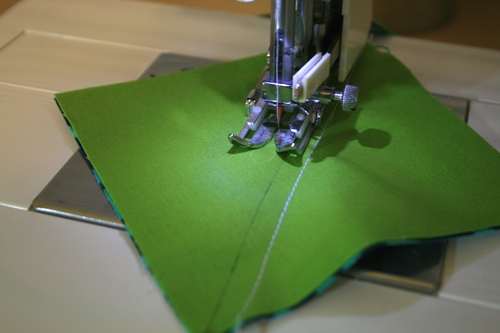
Step 3: Now we will sew our squares together.
Use the pencil line as a guide and sew 1/4" to one side.
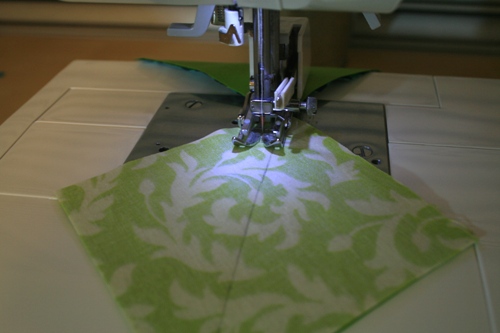
Once you've finished all six squares, turn them around and sew 1/4" to the other side of the line:
Cut along the center line:
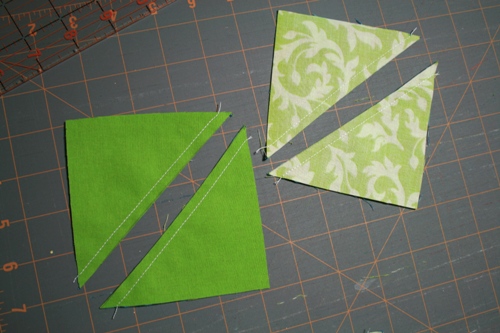
Press seam open and trim your block to 3.5", making sure the diagonal line on your ruler lines up with the diagonal seam:

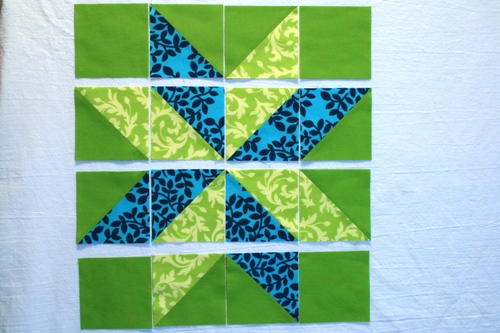
Step 4: Lay out your squares and sew them together into rows:

Step 5: Sew rows together to complete the block. Pin at each intersection to make sure everything lines up:
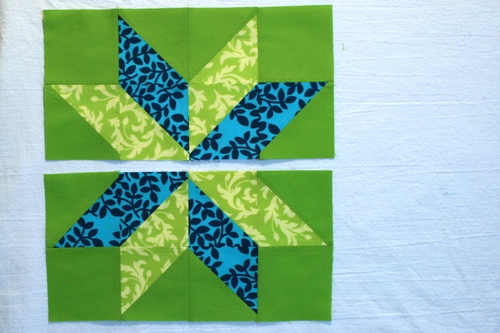
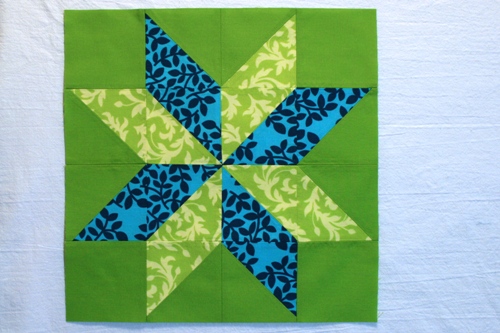
Step 6: Square up your block to 12.5" x 12.5"