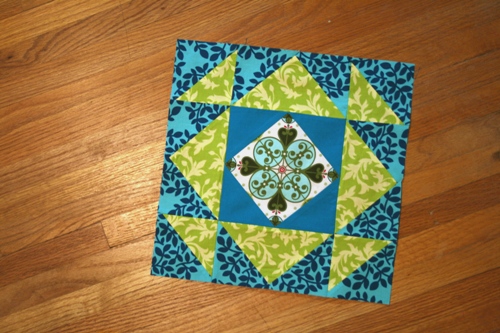
We're almost finished with our quilt along...just two blocks left to go after today's tutorial. As you can see, the blocks are getting more complicated but not harder. This block has a lot of pieces and steps but you've done them all before if you've been quilting along with us.
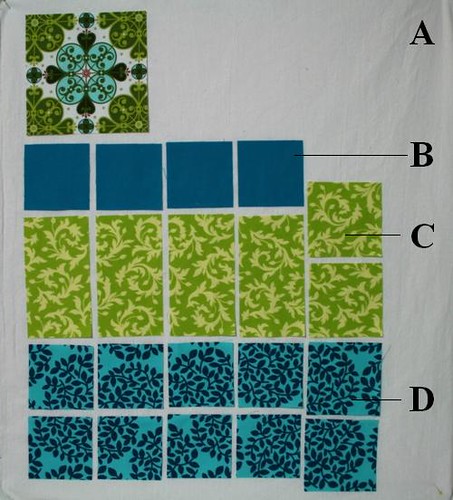
Fabric A: cut one 6.5" x 6.5"
Fabric B: cut four 3.5" x 3.5"
Fabric C: cut four 3.5" x 6.5", cut two 4" x 4"
Fabric D: cut eight 3.5" x 3.5", cut two 4" x 4"
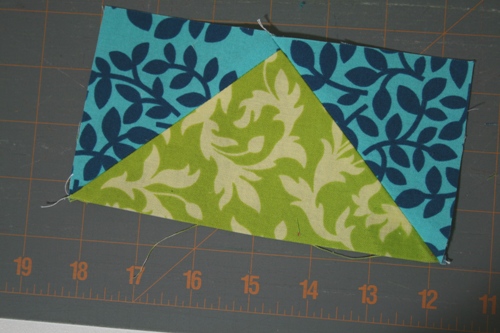
Step 1: First we'll create the center diamond. Mark the back of all your fabric B squares and lay two on opposite corners of fabric A.
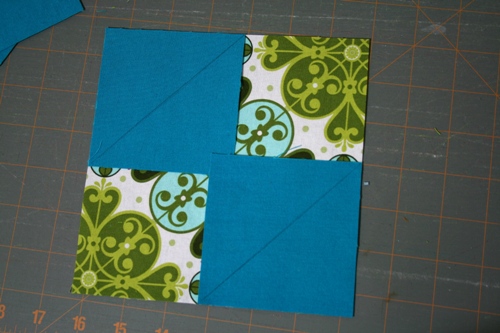
Sew just to the right of the line to make sure your block will be big enough.

Trim 1/4" away from seam line (save triangles for a mini block if you want)
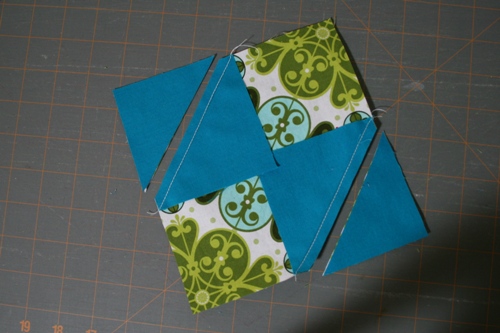
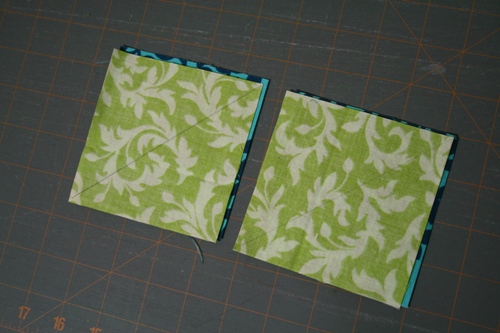
Press open and place the remaining squares of fabric B.
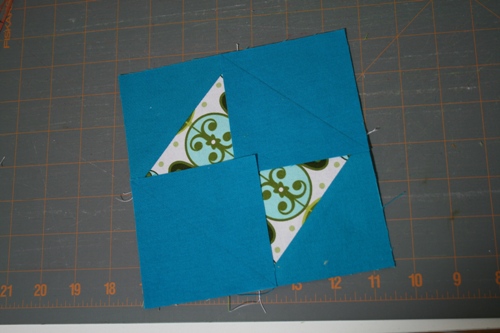
Sew, trim and press as before. Trim your block to 6.5" x 6.5" if necessary.
Step 2: Now we'll make the flying geese. Draw a diagonal line on the back of all of your 3.5" x 3.5" fabric D squares. Place one square on a fabric C rectangle.

Sew to the right of the line:
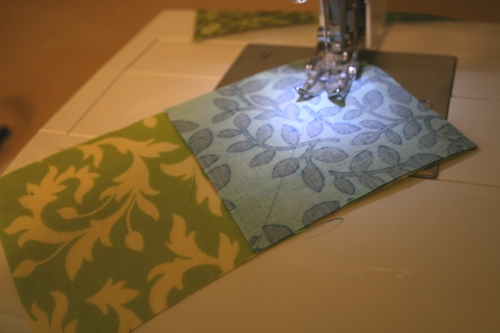
Trim and press open:
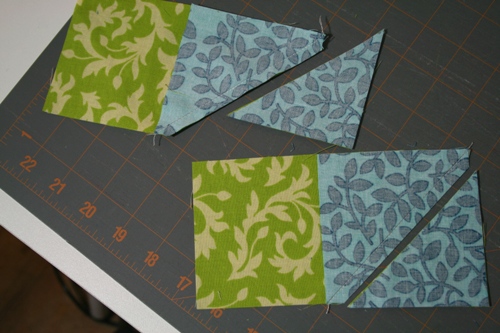
Add your next square of fabric D and sew as before:
Trim and press open. Trim your block to 6.5" x 3.5" if necessary.
Make three more flying geese. If you save your triangles, you can make two mini blocks.
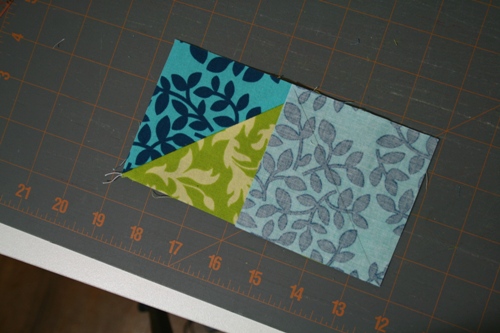
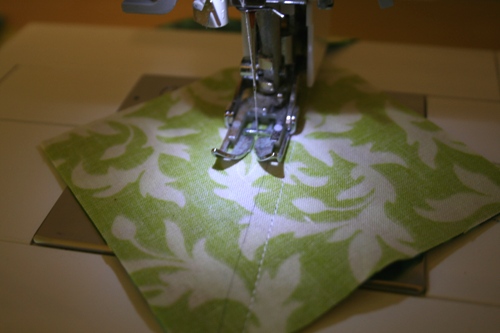
Step 3: Now we make half square triangles. Draw a diagonal line on the back of two of your 4" x 4" squares and pair one fabric C with one fabric D, right sides together.
Sew 1/4" from both sides of the line:
Cut along line:
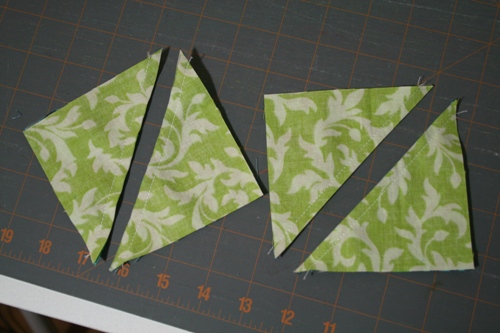
Press open and trim to 3.5" x 3.5".
Step 4: Lay out your pieces and sew them into rows:

l

Sew your rows together to complete the block. Trim to 12.5" x 12.5".
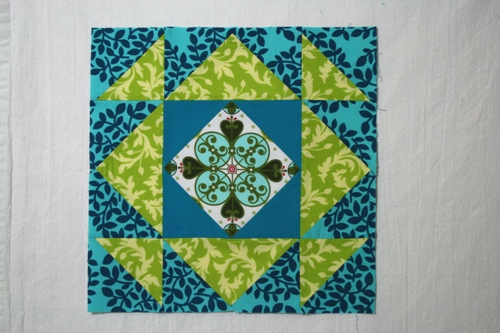
Hopefully that wasn't so bad. I love how this block looks complicated but it really isn't once you break it apart.