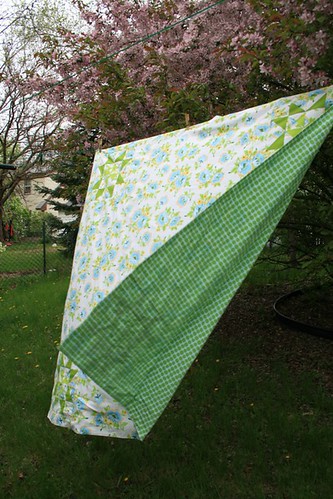
But, for now, today's project is a sweet and simple picnic blanket:
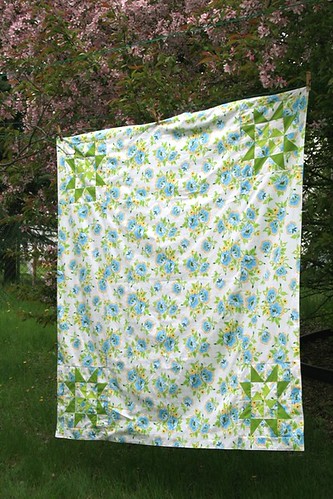
The finished size is 5' square, big enough for a proper picnic or to cuddle up in on a cool summer night. You don't need batting or binding for this blanket but I do recommend flannel for the backing. It adds weight and warmth and softness.
Materials:
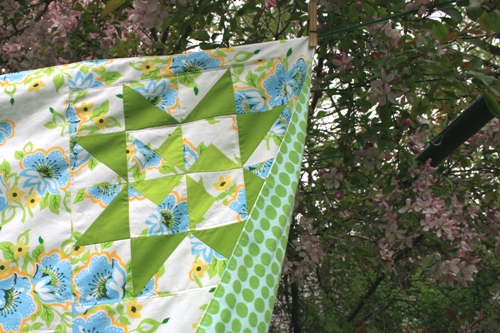
Four - 12.5" (unfinished) quilt blocks (We used the Martha Washington Star)
Fabric for top:
at least 2.5 yards* (3 yards if you will use this fabric in your blocks)
*This measurement is pretty exact so if you plan to prewash your fabric, make sure you have a little extra yardage. Also, sometimes fabric isn't cut straight and you could lose a few inches that way. To cut most efficiently, it's best to use a non-directional fabric. If you use a directional fabric, you will need more yardage.
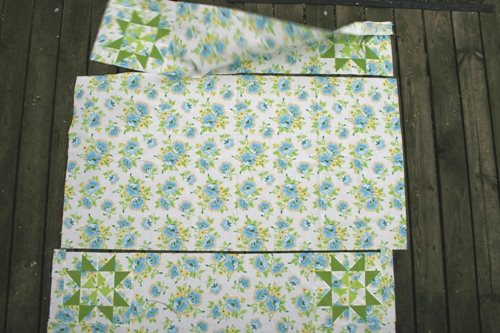
Cut your top fabric as follows:
Four - 2.5" x 12.5"
Four - 2.5" x 14.5"
Two - 14.5" x 32.5"
One - 32.5" x 60.5"
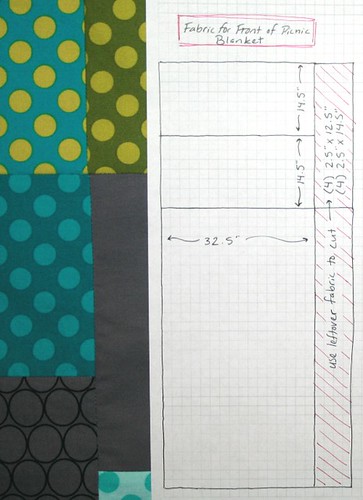
(Click to see a larger size)
For your backing fabric:
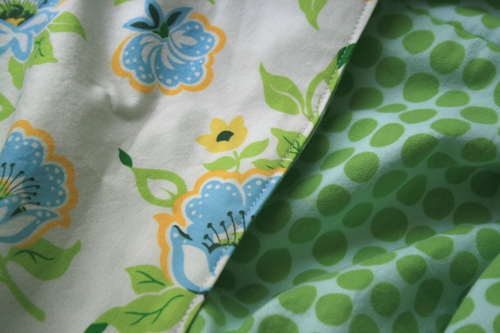
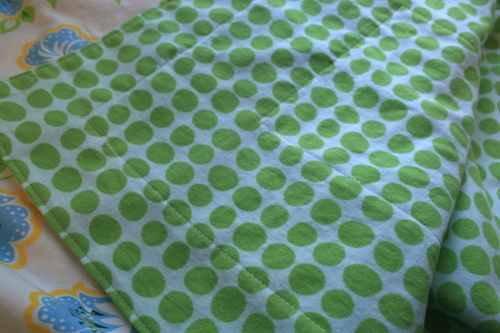
I used Amy Butler's flannel for the back of this blanket (it's super soft). The back should measure 60.5" x 60.5"*
*If you want to use all one fabric you will need just over 2.5 yards cut using the diagram below:
One - 41" x 60.5"
Two - 20" x 30.5"
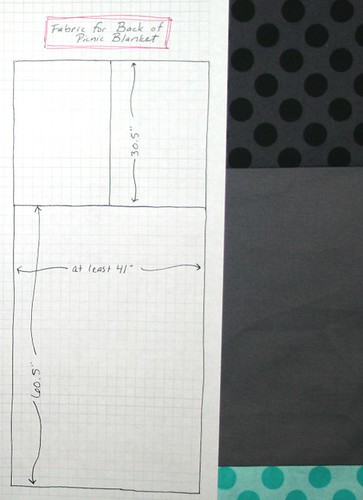
(Click to see a larger size)
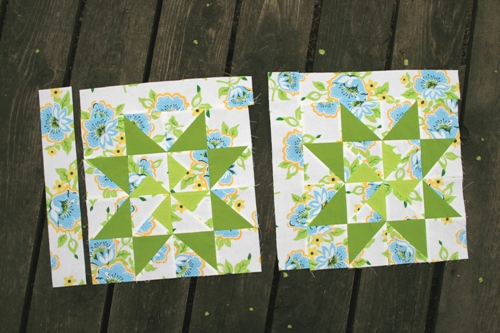
Step 1: Assemble the top. Add one 2.5" x 12.5" strip to each of the four blocks.
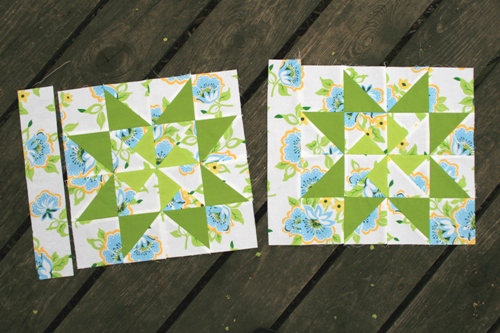
Add one 2.5" x 14.5" to a side adjacent to the first strip.
Place a block on either side of the 14.5" x 32.5" piece and sew together. Make sure a 2.5" strip is on the outside edge (opposite the large piece in the middle.) Repeat with the other two blocks.
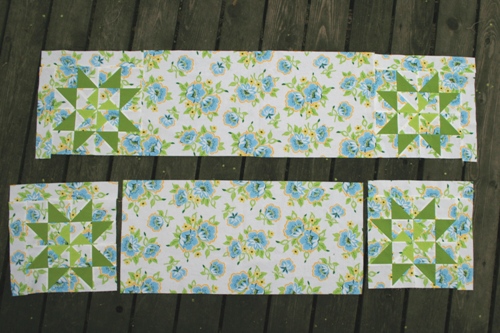
Arrange your strips and sew together to complete the top. Make sure the 2.5" strips are on the outside edge of the blanket.
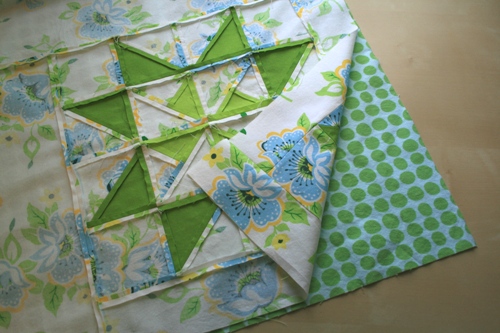
Step 2: Assemble the back:
Sew your two smaller pieces together along the 20" edge using a 1/4" seam. Sew this to your larger piece to complete the back.
Step 3: Assemble the blanket. Place the top and backing, right sides together.
Pin and sew around all sides using a 1/4" seam. Leave an opening that's at least 8". Turn the blanket through the opening and press edges flat.
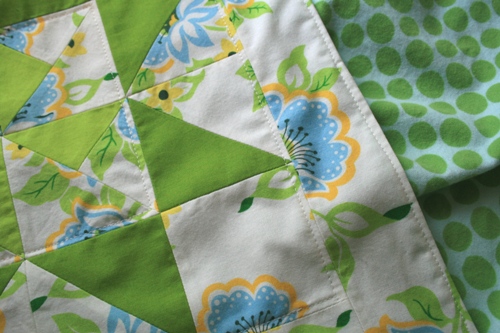
Topstitch around the edge of the blanket.
Quilt as desired.
Have a picnic!