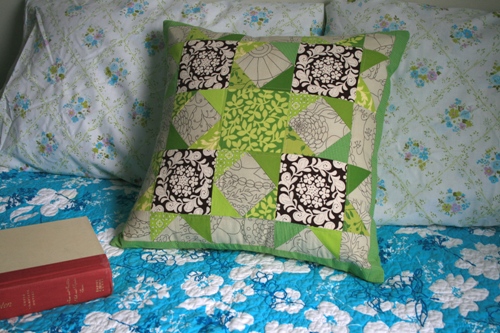
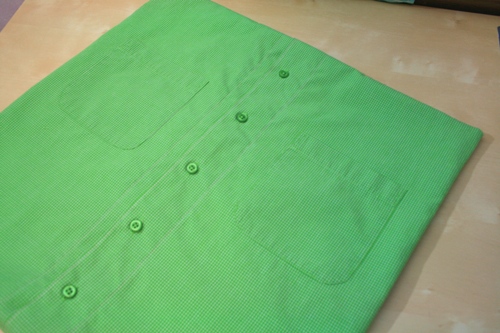
And the best thing (in my opinion anyway) is the back of the pillow. It's made with a men's button up shirt with pockets!

This will fit an 18" pillow.
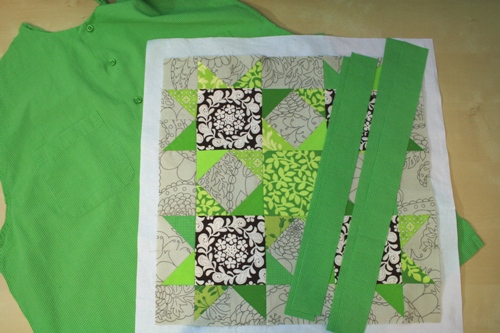
To make this pillow cover, you will need:
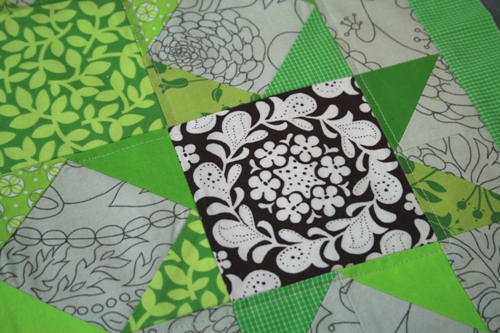
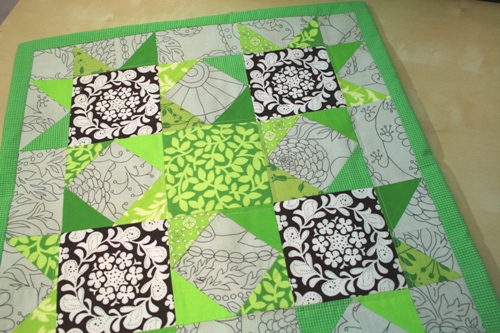
1 - 16.5" (unfinished) block (we used the Corner Star)
2 - 16.5" x 1.75" strips for the border (Just so you know, I always cut my strips a little longer...so I cut mine at 17"))
2 - 19" x 1.75" strips for the border (19.5" if you want.)
1 - 19" x 19" fabric for lining (I used white so it wouldn't show through to the front of the pillow)
1 - large men's shirt with a chest measurement of at least 19".
Step 1: Assemble your pillow front. Take your border strips and arrange them so your 16.5" strips are opposite each other.
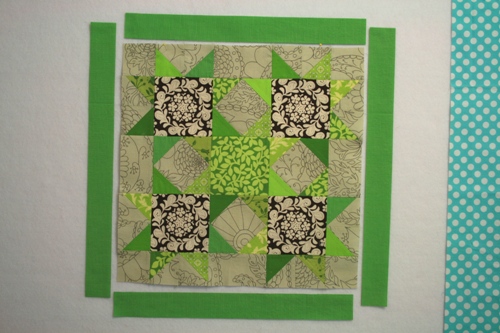
Sew using 1/4" seam and press towards the border. Finish all four sides and square to 19" if necessary.
Place your block onto the lining fabric, wrong sides together. Pin along the edges and at various places within the block.
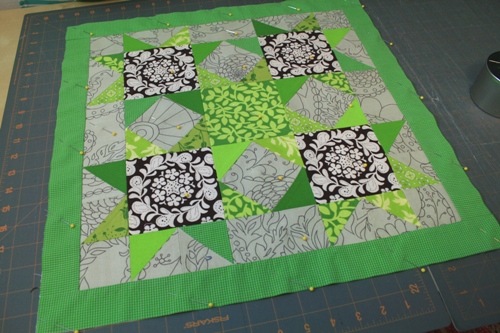
Quilt as desired
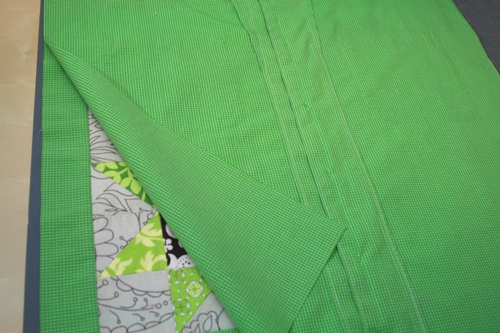
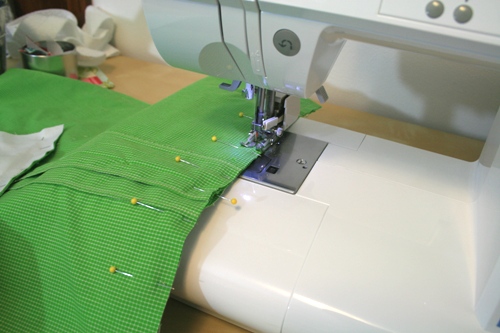
Step 2: Assemble the pillow back. I like to start by cutting the sleeves and collar off the shirt. Then I separate the front pieces from the back. Before cutting out the panel, I like to topstitch the opening of the shirt to keep things flat. If you turn the opening over, you'll see two edges that need to be sewn (4 total). I marked them with pins in this picture.
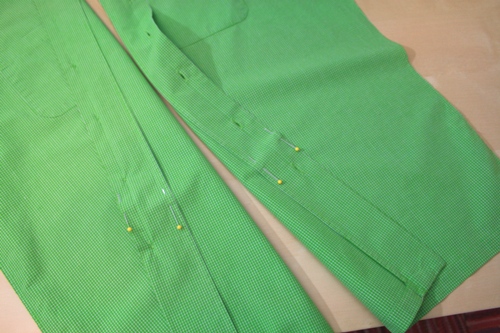
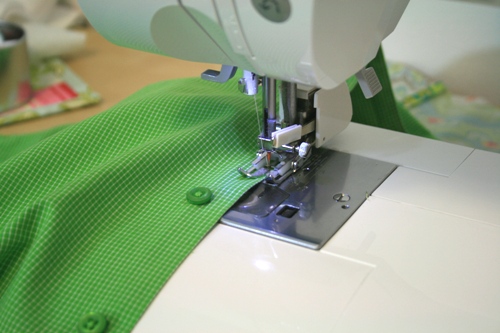
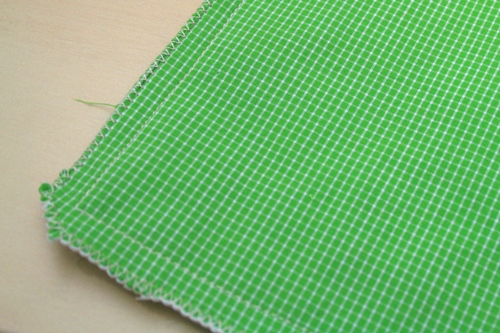
Stitch as close to these edges as you can. Be careful around the buttons.
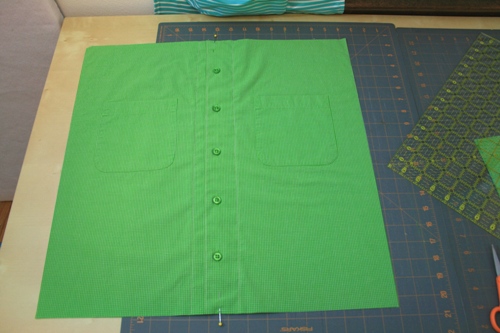
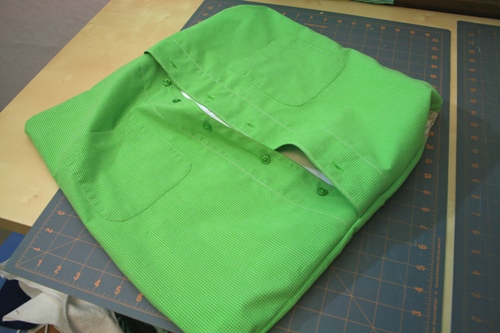
Button the shirt and with the buttons centered, cut a panel that measures 19" x 19".
Step 3: Now we'll assemble the pillow cover. Place the front of the pillow right side up and center the back of the pillow, right side down.
Pin all edges and sew a 1/2" seam. I like to backstitch when I get to the places where the shirt overlaps itself.
Trim the corners and serge (or zigzag) the edges.
Unbutton the back and turn the pillow cover right side out.
Press the edges so they're nice and crisp.
Turn over and admire your work.
Stuff in an 18" pillow and button the back (or leave it unbuttoned if your pillow is too fluffy)

Enjoy!