The Corner Star block is made up of flying geese and square in a square units. If you've been quilting along with us, this will be a piece of cake for you!
This tutorial lists measurements for a 16" block, since that's what we'll need for our project this week. Measurements for the 8" block are written in parenthesis. If you need 12" measurements, just ask!
Fabric Requirements:
- Fabric A (patterned or solid)
- Fabric B (patterned or solid, but different from A)
- Fabric C (for background)
Step 1 - Cut fabric as follows
Fabric A: Cut 16 2.5" squares (8" block -- 1.5")(12" block -- 2")
Fabric B: Cut 16 2.5" squares (8" block -- 1.5")(12" block -- 2")
Fabric C:
- Cut 9 4.5" squares (8" block -- 2.5")(12" block -- 3.5")
- Cut 4 2.5" squares (8" block -- 1.5")(12" block -- 2")
- Cut 12 2.5" x 4.5" rectangles (8" block -- 1.5" x 2.5")(12" block -- 2" x 3.5")

Step 2 - Mark a diagonal line across the back of all Fabric A and Fabric B 2.5" squares. Line up four squares of each fabric with a Fabric C rectangle. Sew on the marked line.
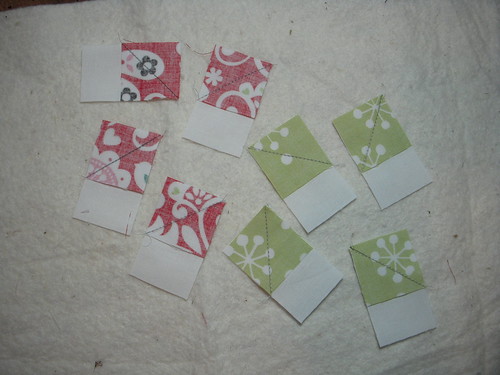
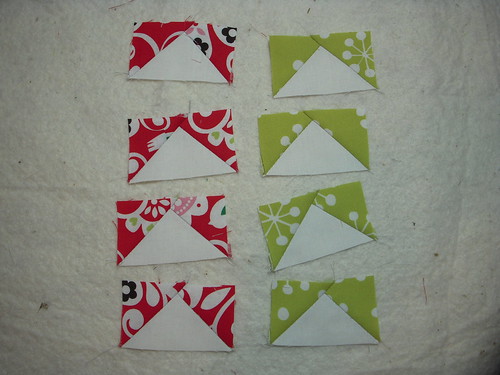
Step 3 - Trim seam allowance to 1/4" and press seams as desired. At this point you will have 8 units.
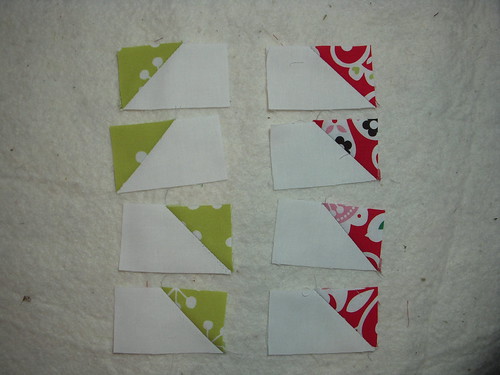
Step 4 - Repeat step two. Trim and press seam allowances. At this point you have 8 flying geese units.
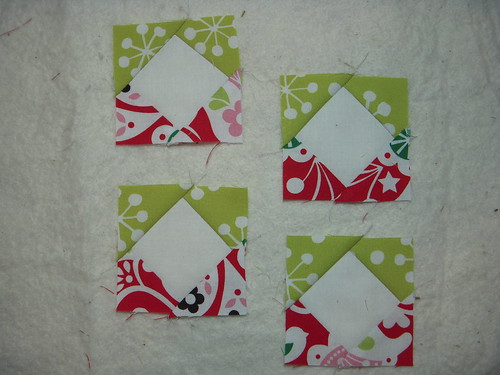
Step 5 - Set aside four 4.5" background squares along with the remaining patterned fabric squares. Align blocks as shown in the photo. Fabric A and Fabric B should be placed in diagonal corners. Sew on the marked line. Press seams and trim as desired. Create four units.
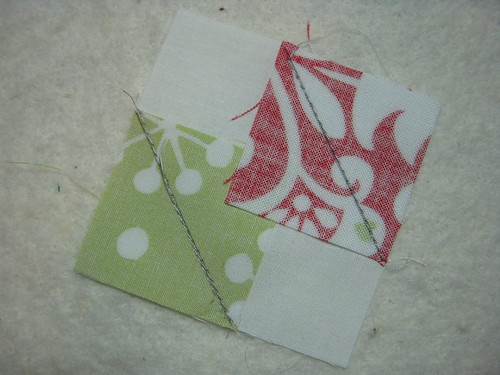
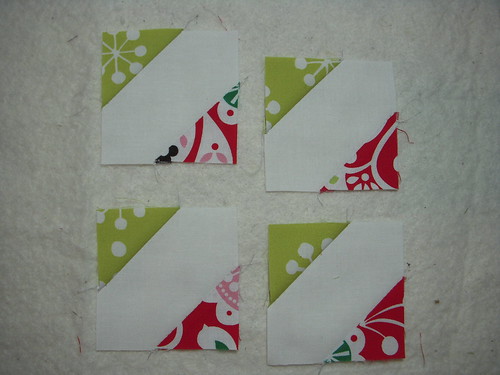
Step 6 - Align remaining squares just as you did in step 5. Sew on the marked line. Press seams and trim as desired. Create four units.
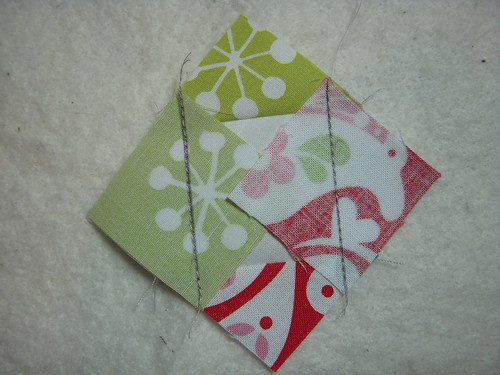
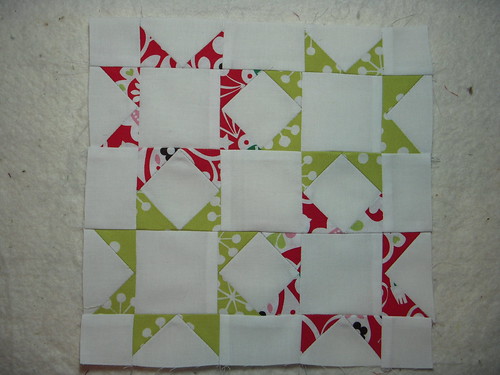
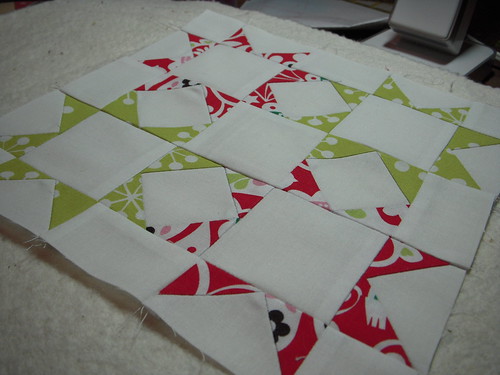
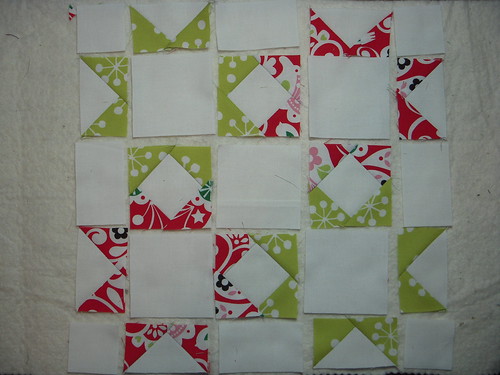
Step 7 - Lay out all pieces as shown. Check to be sure that star points are reaching outward.
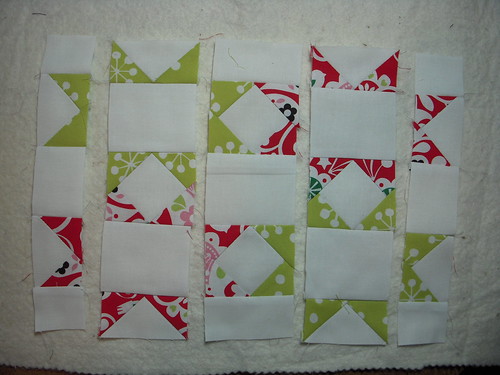
Step 8 - Join pieces together as shown. Press seams in opposite directions.
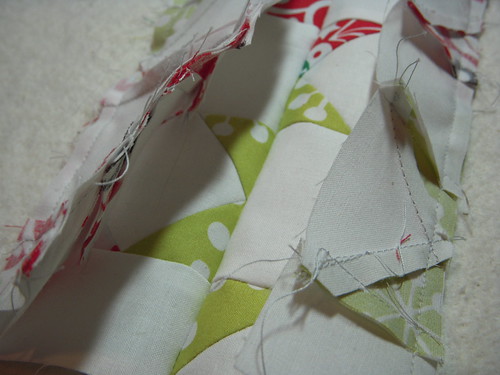
Step 9 - Get the steam ready! Press your block into submission.
Step 10 - Admire and add your photo to our flickr group!