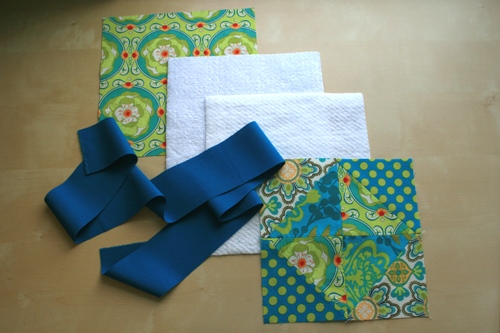
Materials for one potholder:
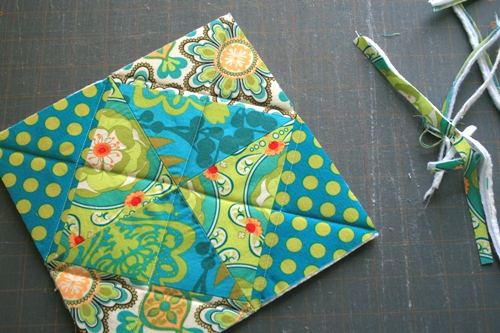
1 – 8.5”x8.5” (unfinished) quilt block (we used the Broken Dishes block)
1 – 9.25”x9.25” piece of cotton quilting fabric for the back (you can make the back out of scraps so long as the finished piece measures 9.25")
1 – 2.75” piece of cotton quilting fabric, cut selvedge to selvedge (or a minimum of 39” long) for the binding
Cotton thread to match binding
1 – 9”x9” piece of cotton quilt batting (I use Warm & White)
1 – 9”x9” piece of Insul-Bright*
*(I buy Insul-Bright by the yard at fabric.com. If you don’t want to use this, I’ve heard you can use two or more layers of cotton batting...though I haven’t tried it so I can’t recommend it. Also, Insul-Bright is heat-resistant, not heat-proof…so always be careful.)
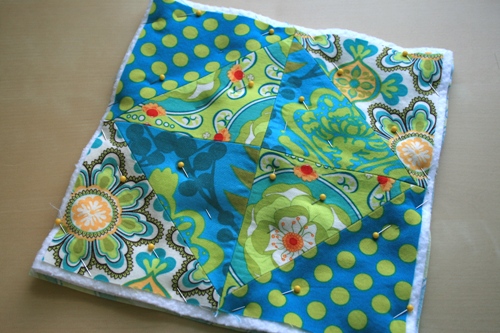
Step 1: Stack your materials in the following order: back (wrong side up), Insul-Bright (shiny side down), quilt batting, quilt block (right side up).
Pin your layers together. The two layers of batting tend to shift during quilting so this step is really important.
Quilt as desired:
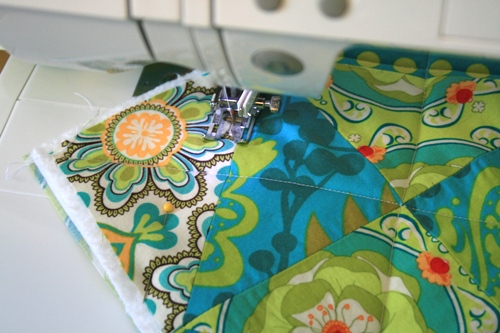
Trim to 8.5”x8.5”
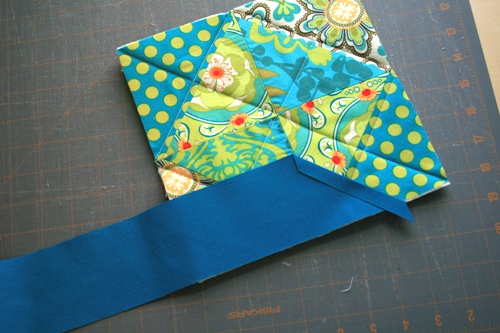
Step 2: Now we need to machine sew the binding to the potholder. You can follow our tutorial or use your own preferred method (be sure to compensate for the extra thickness of the potholder when choosing a binding width).
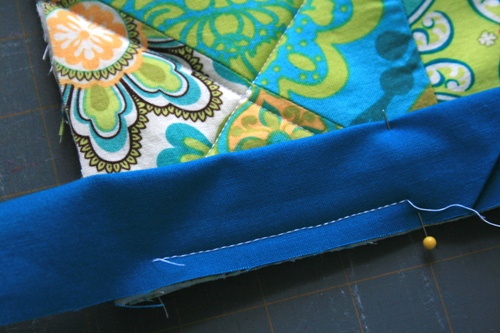
Trim one end of your binding strip to a 45° angle, place along the edge of the potholder (right side down) and fold over the edge ½” (I like to press it with the iron to get a nice crease).
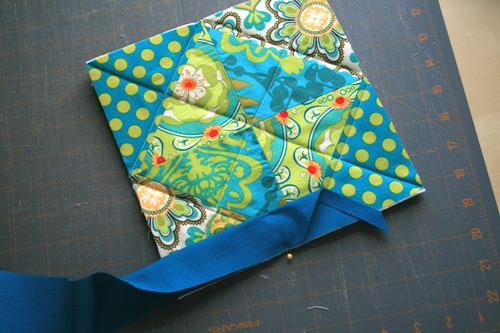
Fold your binding strip in half and pin ½” away from the edge.
Start sewing at the pin and sew approximately 3/8” away from the side.
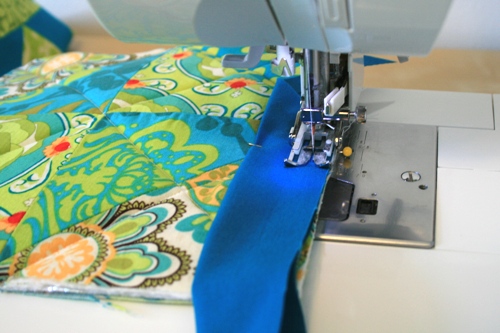
Continue until about 3/8” from the end of the potholder. Cut threads and remove from machine.
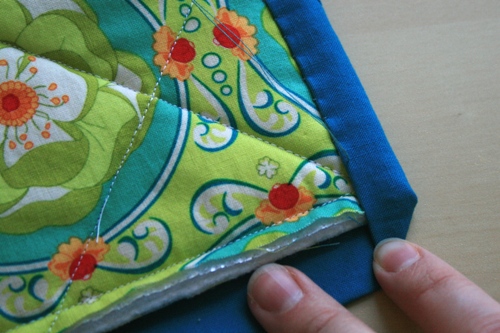
At the corner, pull back the binding perpendicular to the binding you just sewed down:
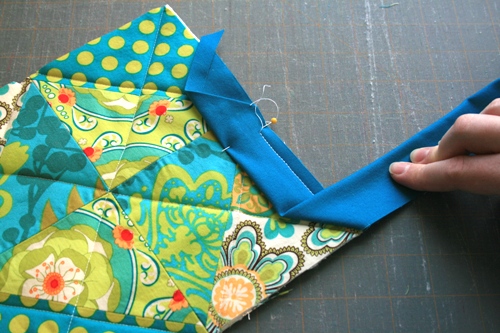
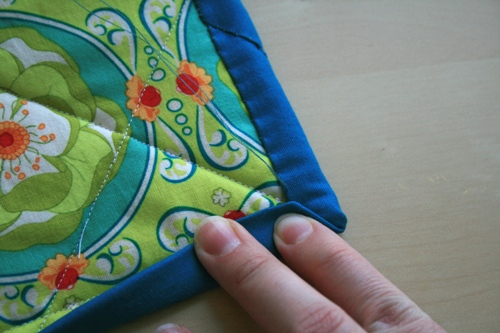
Then, fold the binding strip back over itself at the edge of the potholder. Hold in place:

And pin to secure your fold:
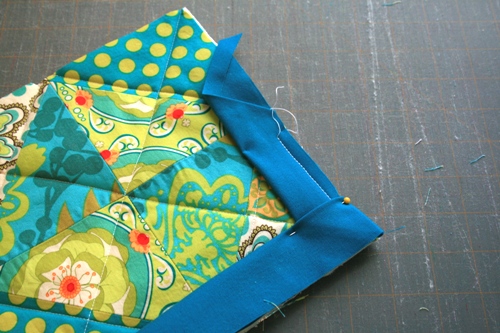
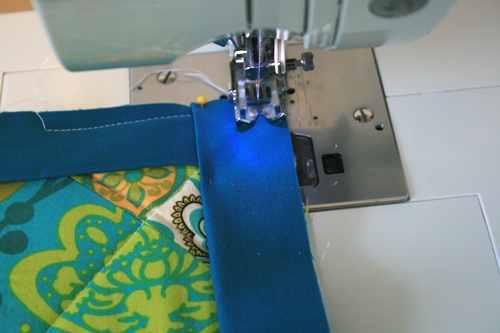
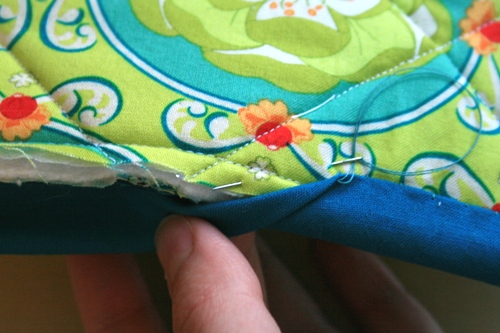
Begin sewing from the edge and keep 3/8” away from the side.
Repeat this process for the next three corners. Before you sew the last corner, trim the binding strip at an angle. Make sure it overlaps the beginning of the strip by about ½”.
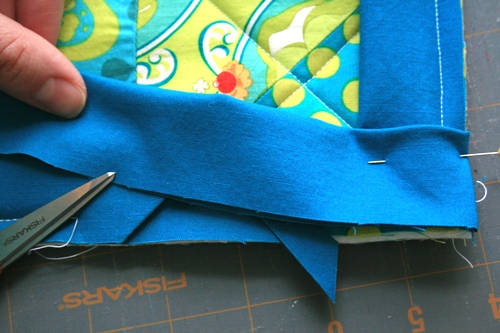
Tuck the edge under the folded edge and pin in place.

Sew until your stitches overlap and trim off the little triangle to reduce bulk:

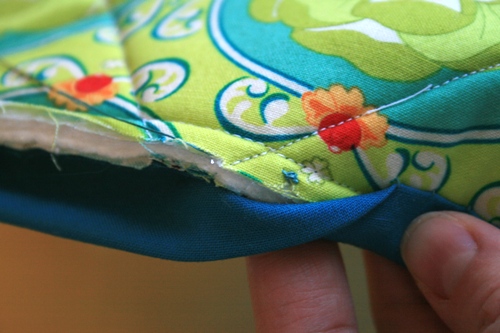
I like to trim the corners a bit to prevent the binding from getting too bulky. If you want to do this, trim off a sliver of batting…but make sure to do it in exactly the same place I did in the picture. If you trim the other side of the corner, you’ll cut a hole in your binding.
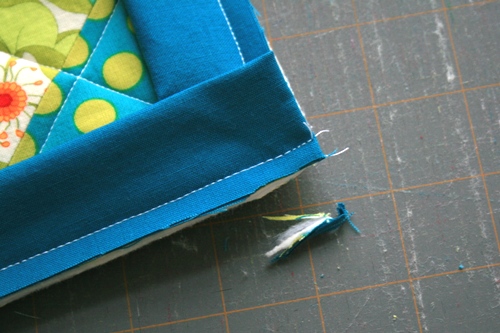
Press your binding away from the center (I use an iron to get a sharp edge)

Step 3: To finish the potholder, we need to hand sew the binding to the back (you can use your machine if you like attaching binding that way).
Turn binding to the back side of potholder and use pins to hold it in place. Pick a thread that matches your binding.

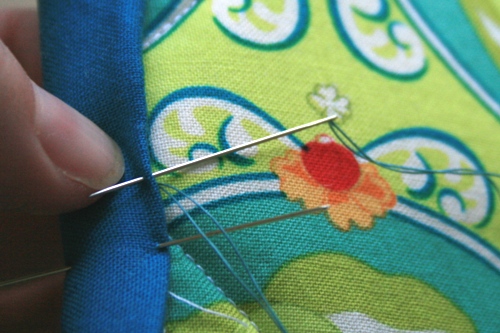
Now we'll whipstitch the binding to the back. First, tie a knot at the end of your thread and insert the needle near the edge of the potholder where it will be covered by the binding. Bring the needle up where the edge of the binding will be when it's folded into place.
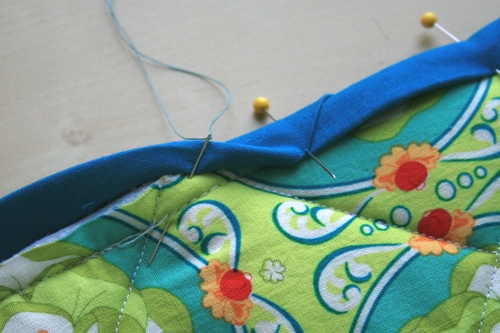
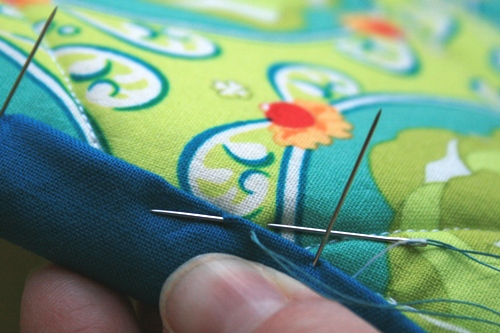
Press the binding down and bring up the needle through the edge of the binding (from the bottom).
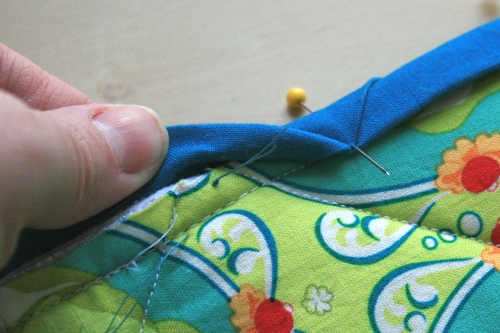
Insert the needle into the potholder through the batting only and bring it back up through the edge of the binding.
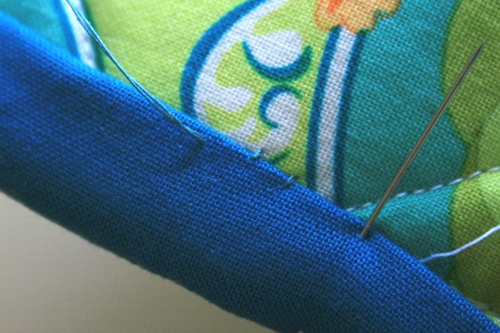
Continue on until you reach the seam. I like to do a few whipstitches up the seam to keep it from popping open.
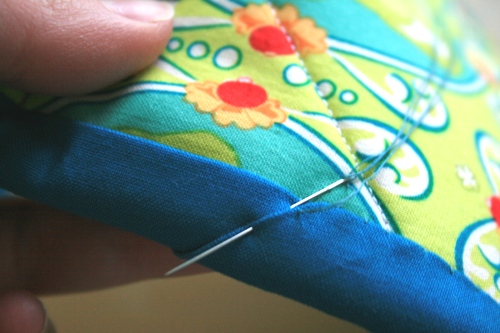
Continue on until you get close to the corner. When you’re about 3/8” inches away from the edge, stop stitching and press the binding down like in the picture.
Fold the binding up to make a mitered corner.
I like to take a few stitches up the miter to tack it into place before continuing on.

When you run out of thread, make a stitch and run your needle through to the edge of the potholder where you won’t see a knot.
Tie a knot and start a new length of thread.
Once you get all the binding sewn down, sew a knot near the edge of the binding and bury the end of the thread.
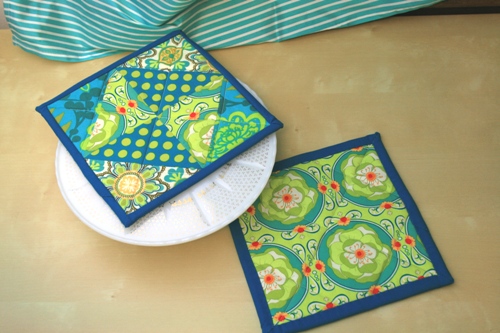
And you're done!
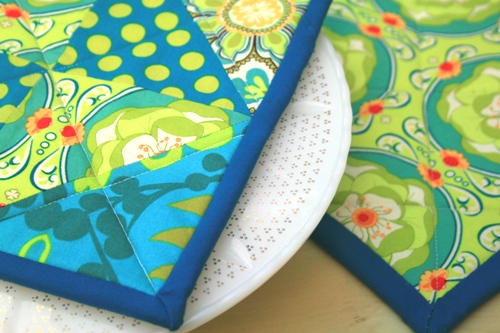
You’ve probably noticed by now that this potholder doesn’t have a loop. I do this for two reasons: 1)I’ve never taken the time to figure out how to put in a loop and 2) I like the clean look of the potholder without one. I like to set them on the table to use as trivets…or under a pretty vase with flowers. I like that they’re mini quilts that are useful.
So, that’s it! Let me know if you have any questions or if you need clarification on any steps. Look for the giveaway post on Thursday.