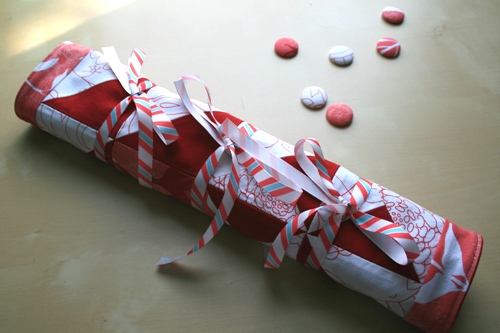
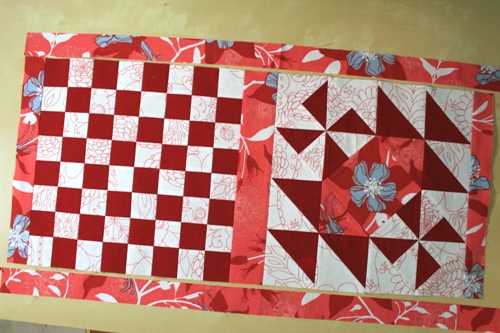
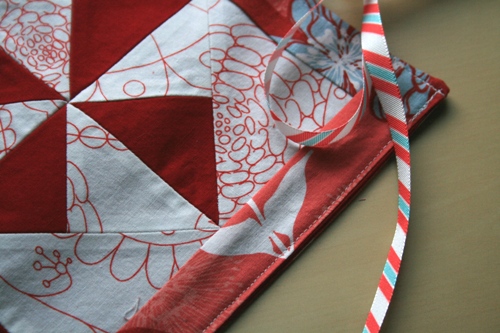
This board is double sided and one of the edges is left open, creating a generous pocket to store the game pieces, magazines, coloring books, etc.
Just stash everything inside and roll up for travel.
Materials:
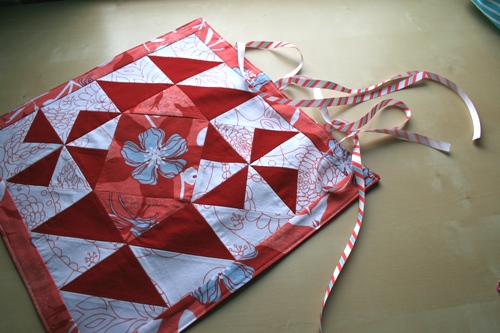
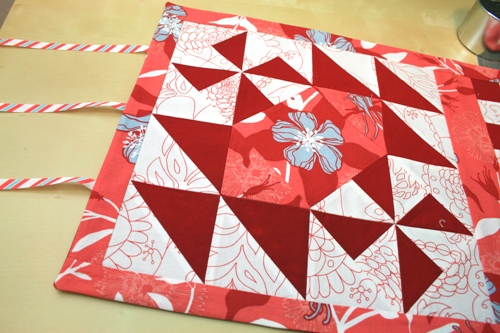
1 - 12.5" (unfinished) block, we used the Hither and Yon block
In the future, instead of using a quilt block, I'd make another type of game board...like backgammon or tic-tac-toe (9-patch!)
For the Checker Board:
4 - 2" x 16.5" strips of dark fabric
4 - 2" x 16.5" strips of light fabric
For the sashing/border:
2 - 1.5" x 12.5" strips
1 - 2.5" x 12.5" strip
2 - 1.5" x 28.5" strips
For the lining:
1 - 14.5" x 28.5"
For ties:
6 - 15" pieces of ribbon (2.5 YDS) (these will be a little on the long side and you can trim them later if you want)

For the fabric covered checkers:
Fabric scraps in light and dark
Pliers
Hot glue/gun (optional)
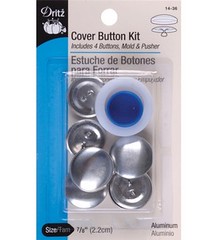
Cover Button Kit (7/8" size) - you will need a total of 24 buttons. You can buy the refill kit which has more buttons for a better price but be sure to buy one pack that has the white and blue assembling device.
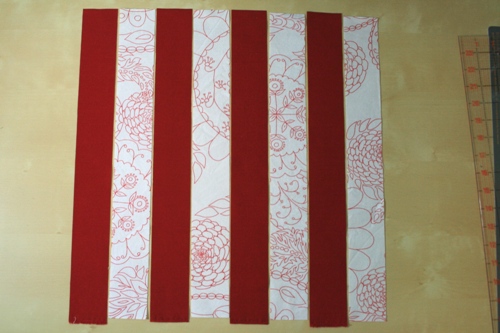
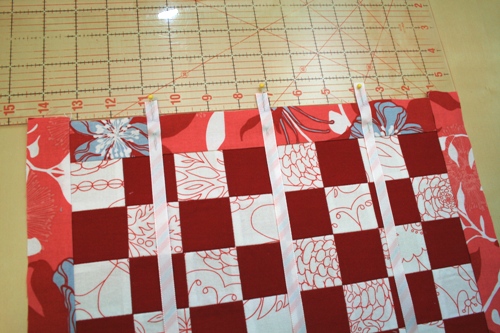
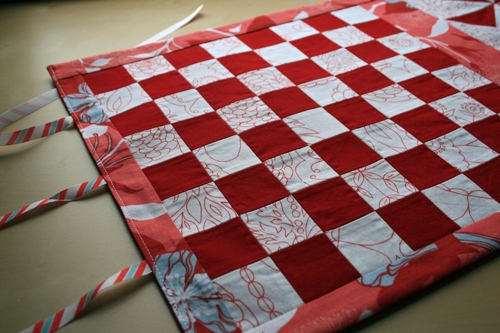
Step 1: Assemble your checker board. To start, lay out your 2"x16.5" strips, alternating light and dark:
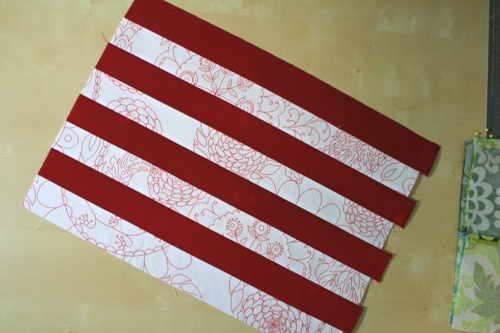
Sew all your strips together until you have one piece measuring 12.5"x16.5"
Cut your new block into eight 2" strips. Lay them out, turning every other row the opposite direction.
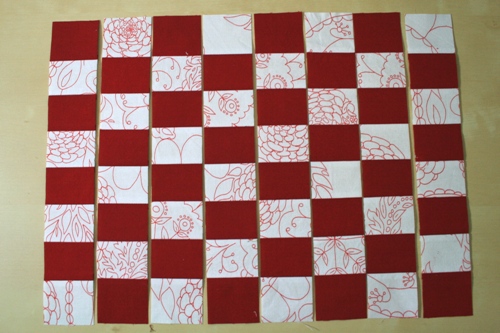
Sew all your rows together (I find that pressing all seams open makes for a smoother checker board). When you're finished, square up and trim to 12.5"x 12.5" if necessary.
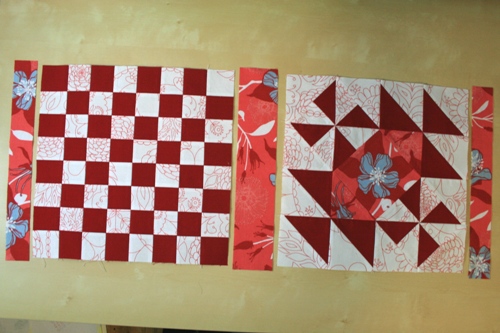
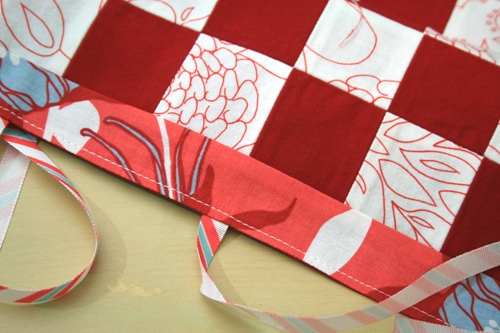
Step 2: Now we will assemble the outside of the game board/bag. Sew your pieces together in the following order: 1.5"x12.5" sashing, checker board, 2.5"x12.5" sashing, quilt block, 1.5"x12.5" sashing.
Sew your two remaining sashing pieces (1.5"x28.5") to the top and bottom.
Trim to 14.5"x28.5" if necessary.
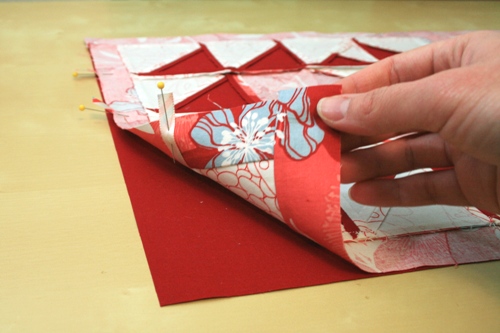
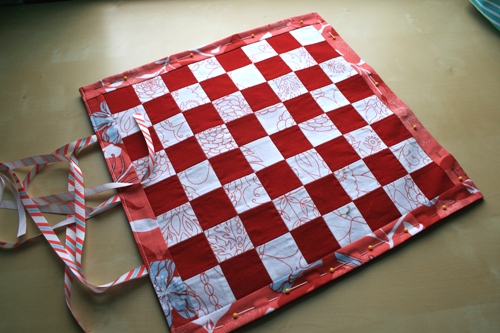
Step 3: Now we'll put everything together. First, place three lengths of ribbon (right side down) onto the short end of the game board and pin in place. Make sure there is a half inch overhang at the edge. Repeat on the other end of the game board.
Place your game board and lining fabric right sides together. Make sure your ribbons are tucked inside (and away from the edges).
Sew around all edges (1/4" from edge) leaving a 6" opening on one of the long sides.
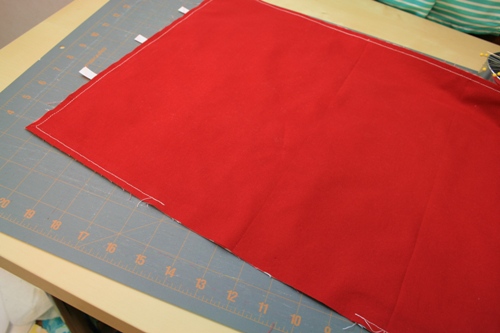
Turn and press all edges.
Topstitch the two short sides only.
If you want to do any quilting to the board or the quilt block, now is your chance.
When you're finished, fold your game board in half (lining together) and pin along all edges.
Topstitch around the three remaining sides to create the bag. (Don't sew around the edge that contains the ribbons as this is the opening for your bag. Also, keep track of the ribbons so you don't accidentally sew over them.)
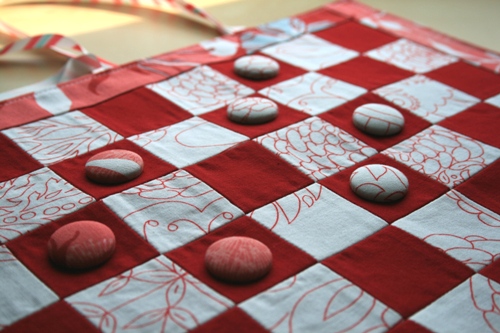
Step 4: Make your checkers! (You can skip this step if you already have checkers you'd like to use.)
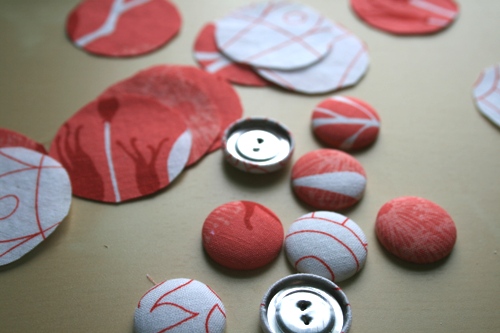
Remove the little button loop from all 24 buttons. You can squeeze them with a pliers and they come right off. Next, using the template on the back of the box, cut 12 light fabric circles and 12 dark fabric circles.
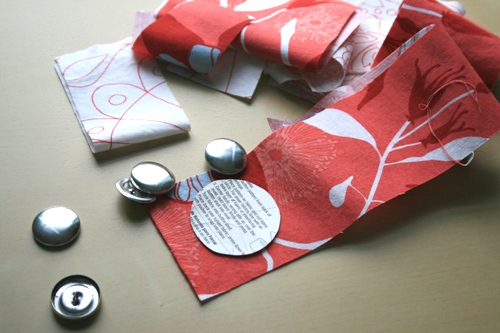
Follow the directions on the back of the package to make your buttons.
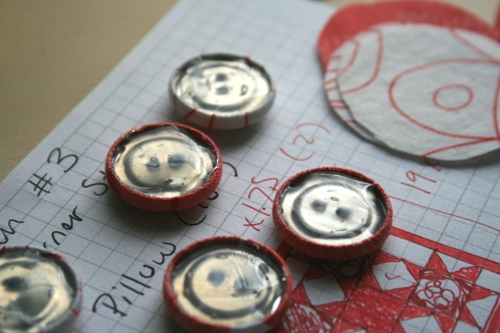
I like to fill the backs of my checkers with hot glue. This gives the checkers a bit more weight and (if you fill them to the very brim) helps them grip the board.
Step 5: Play checkers!
And when you're finished, tuck your checkers inside the bag, roll it up and tie your ribbons to secure.
For a day of travel, this bag is also a great place to store things that can roll up like magazines and coloring books.
As always, let me know if there are any questions and look for the giveaway on Thursday.