Lesly was right when she said that making flying geese is "mind-bogglingly tedious." All of that cutting and matching and pressing can get extremely confusing, not to mention extremely old (extremely fast!).
It turns out, there's a better way. Thanks to the kind folks at Quilter's Cache, I learned a couple new ways to make flying geese.
This tutorial covers my favorite method. It creates four flying geese at once. Of course, there is a little bit of math, but don't worry, it's only simple addition.
Step 1 - Use the formulas to find your cutting measurements. W = width of your finished block. H = height of your finished block. Measurements listed are in inches.
- W" + 1 1/4" = A
- H" + 7/8" = B
Example: If I want my finished geese to be 2" wide by 1" high, I would plug in my finished measurements to find that A = 3 1/4" and B = 1 7/8".
- W" + 1 1/4" = A
- 2" + 1 1/4" = A
- 3 1/4" = A
- H" + 7/8"= B
- 1" + 7/8" = B
- 1 7/8" = B
Step 2 - Cut as directed using measurements you figured in Step 1.
- Cut 1 square using measurement A. This is for the base.
- Cut 4 squares using measurement B. These are for the tips.
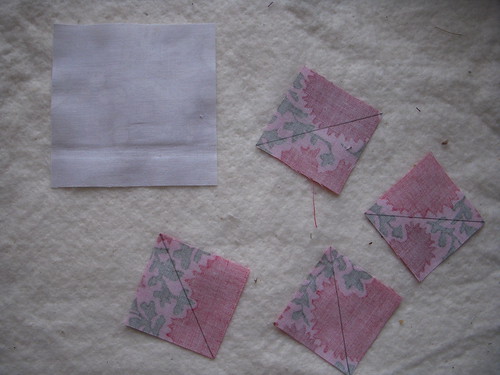
Step 3 - Mark a diagonal line on the wrong side of each small square.
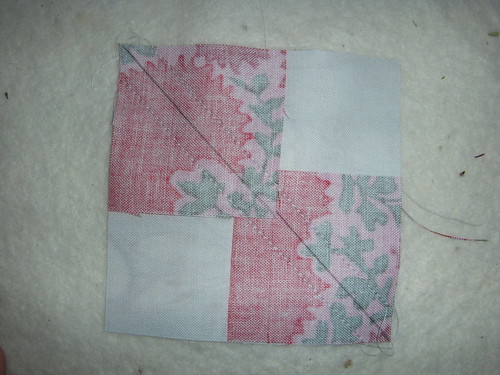
Step 4 - Place two small squares in opposite corners. Their tips will overlap just a bit. Sew a 1/4" seam on either side of your marked line.
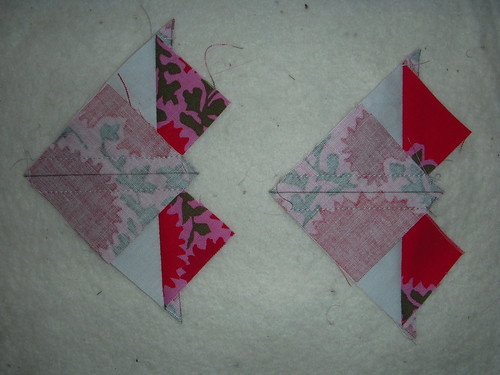
Step 5 - Cut on the marked line. Press seams as desired. You will have two pieces that look like small hearts.
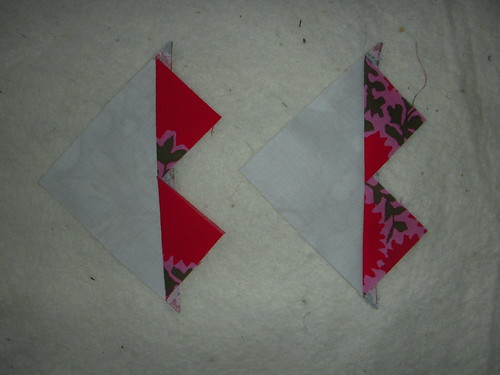
Step 6 - Place each of your remaining small squares in the corner of your hearts. Once again, sew a 1/4" seam on either side of your marked line.
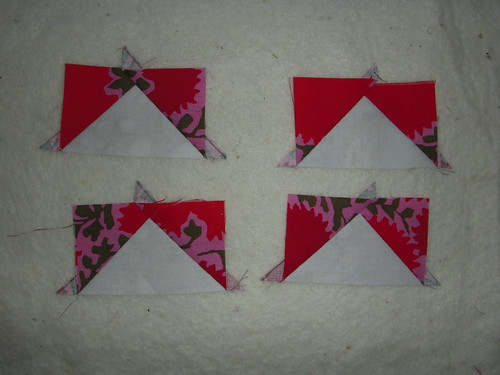
Step 7 - Cut on the marked line. Press seams as desired. You now have four flying geese units!